
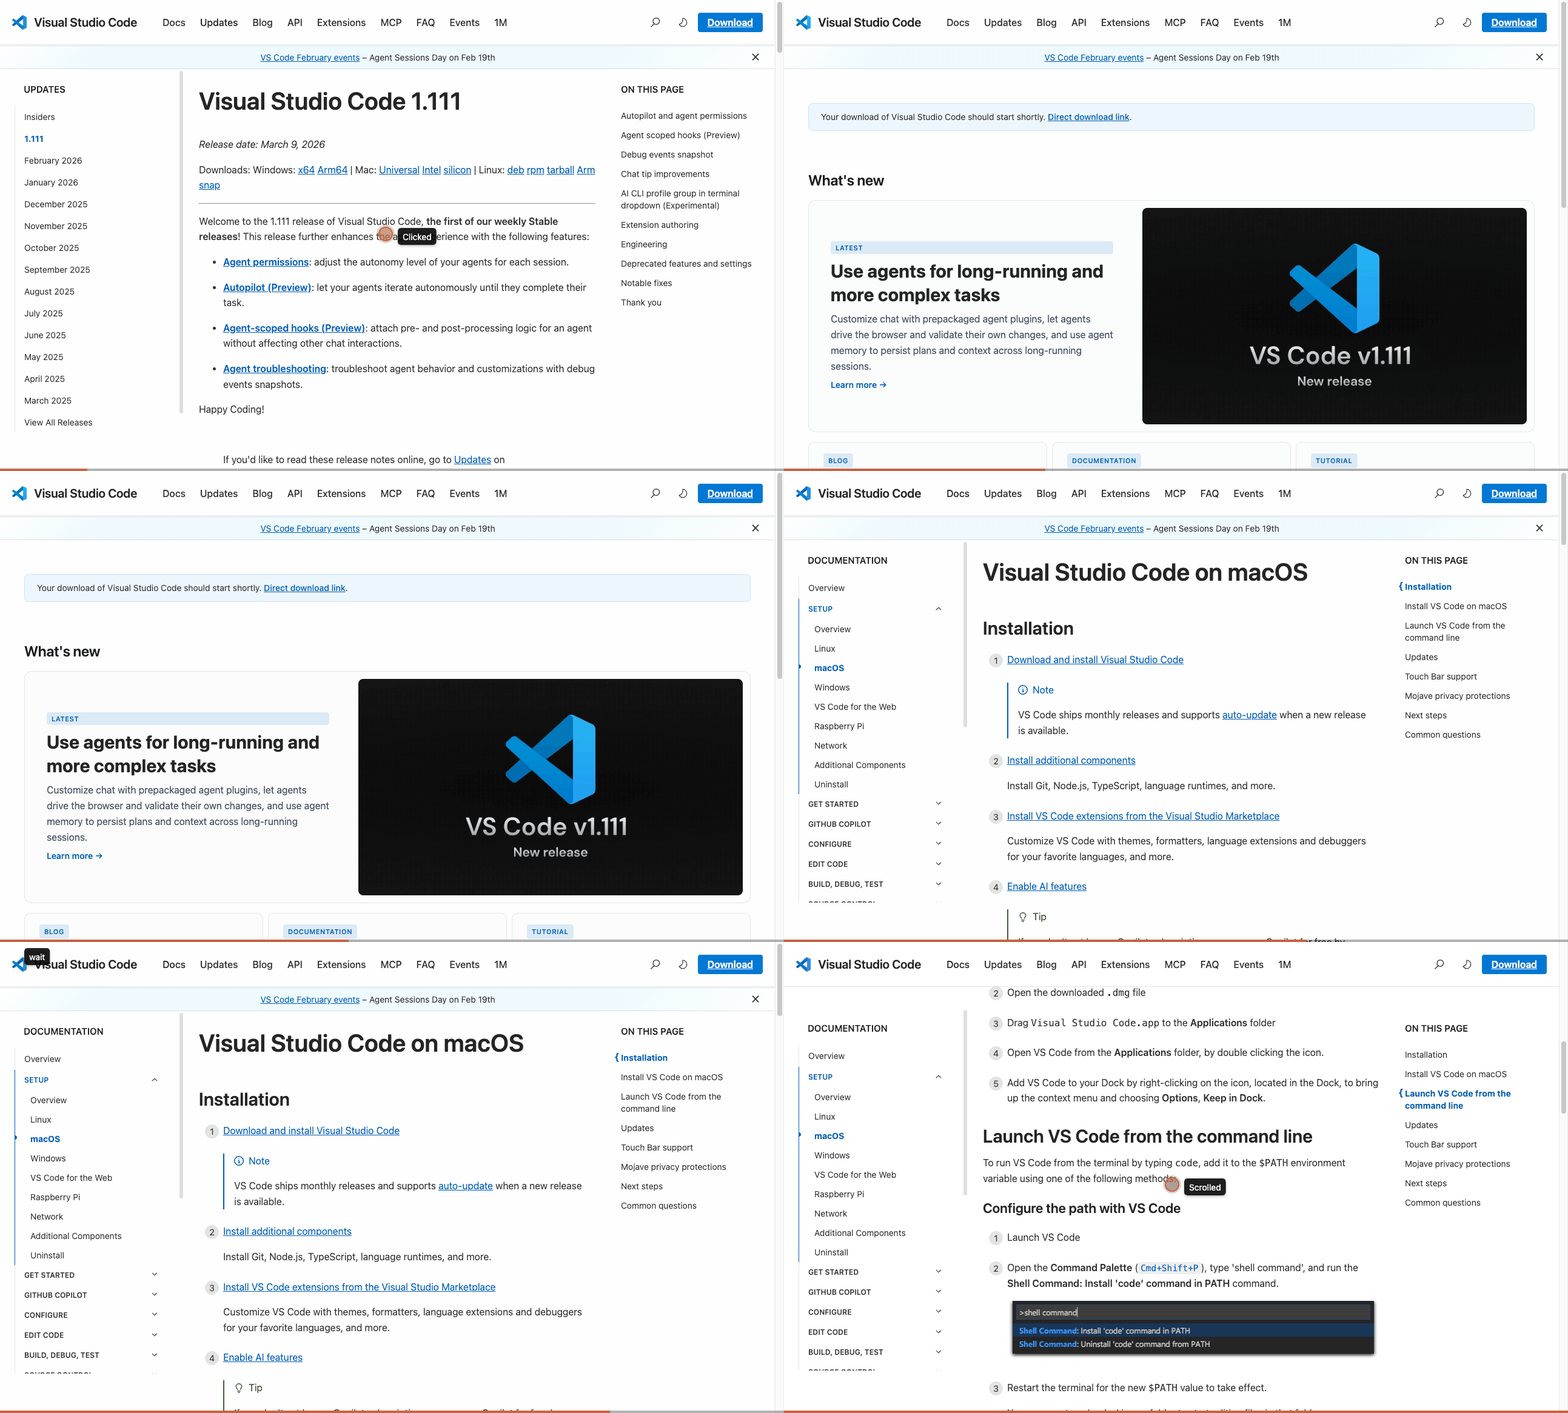
Installing VS Code takes just a few minutes
📑Table of Contents
VS Code (Visual Studio Code) is a free, open-source code editor developed by Microsoft. Lightweight yet packed with features and extensions, it’s the most popular editor among developers worldwide. In this guide, we walk you through downloading and installing VS Code on both macOS and Windows, step by step with screenshots.
Visit the VS Code Official Website
Start by visiting the VS Code official website.
Official site: https://code.visualstudio.com/
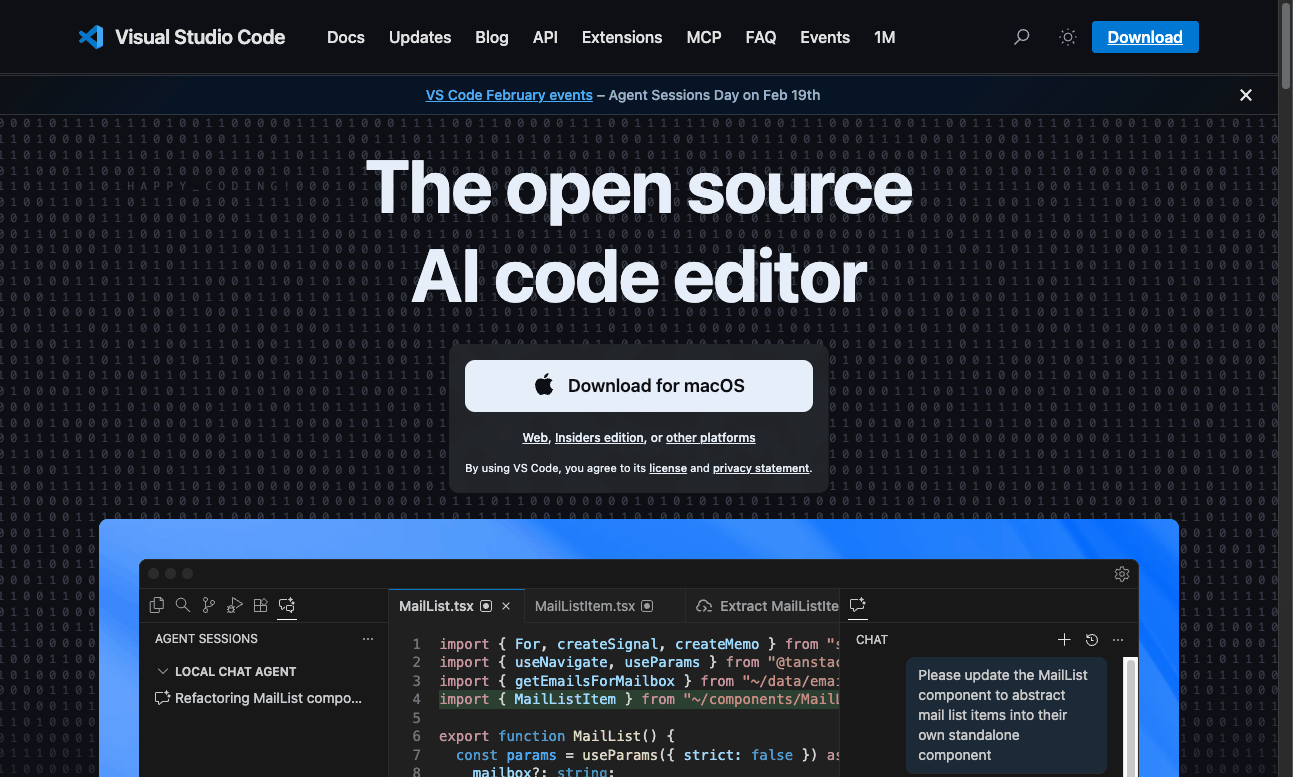
On the homepage, you’ll see a download button tailored to your operating system right in the center.
Download VS Code
Click the “Download for macOS” button (or “Download for Windows” if you’re on Windows).
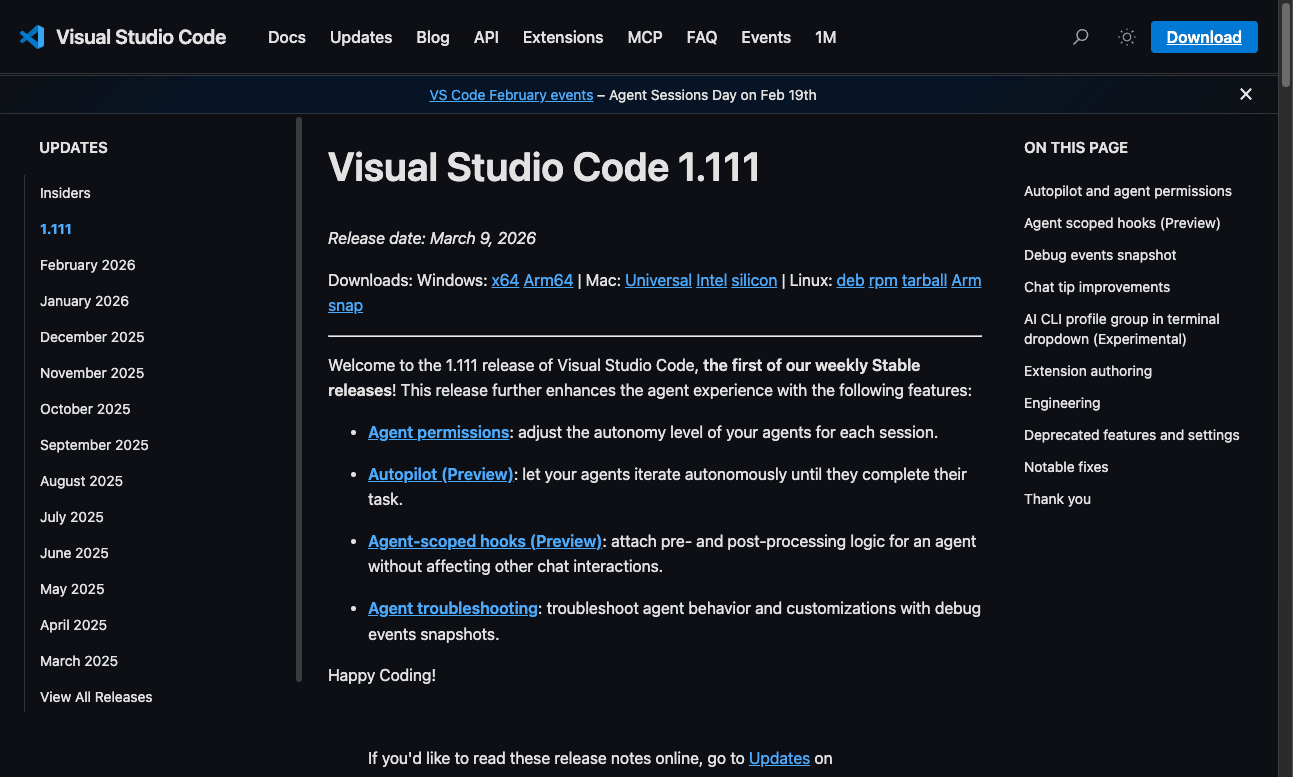
The download will start automatically. You should see the message “Your download of Visual Studio Code should start shortly.”
💡 If the download doesn’t start automatically
Click the “Direct download link” on the page to download manually.
Download Options
The download page offers detailed options for each platform.

- macOS: Intel chip / Apple silicon / Universal — choose “Universal” if unsure, it works on both Mac types
- Windows: User Installer / System Installer / .zip — “User Installer” is the standard choice for most users
Installing on macOS
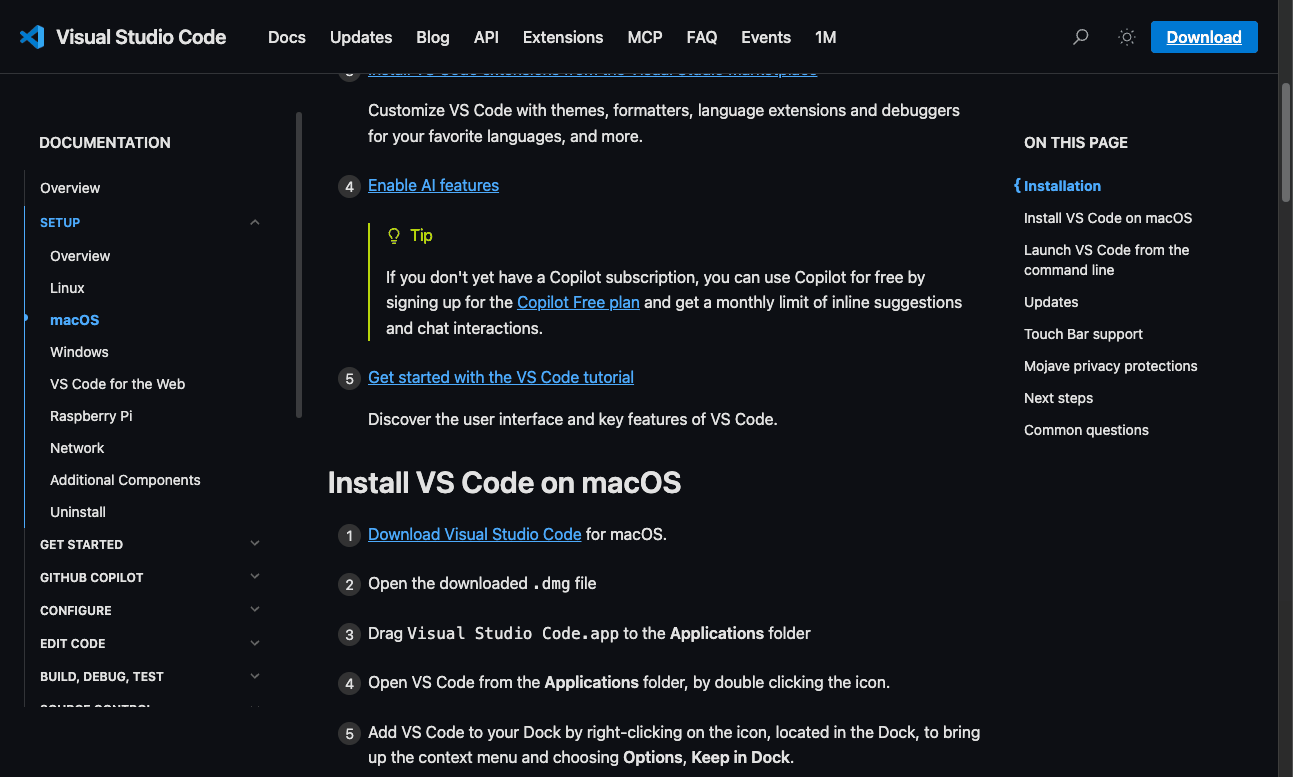
📝 macOS Installation Steps
- Double-click the downloaded
.zipfile to extract it - Drag Visual Studio Code.app into your Applications folder
- Open VS Code from the Applications folder (or Launchpad)
- If you see a warning saying the app was “downloaded from the Internet,” click “Open”
- (Optional) Right-click the VS Code icon in the Dock → “Options” → “Keep in Dock” for quick access
Installing on Windows
📝 Windows Installation Steps
- Double-click the downloaded
.exeinstaller to run it - Accept the license agreement and click “Next”
- Confirm the installation folder (the default is fine) and click “Next”
- On the “Select Additional Tasks” screen, check the recommended options below:
⚠️ Important: Recommended Additional Tasks
- ✅ “Add to PATH” — Lets you launch VS Code from the terminal with the
codecommand. Highly recommended - ✅ “Add ‘Open with Code’ to file context menu” — Right-click any file to open it in VS Code
- ✅ “Add ‘Open with Code’ to directory context menu” — Right-click any folder to open it in VS Code
- Click “Install” to begin the installation
- On the final screen, check “Launch Visual Studio Code” and click “Finish”
Verify the First Launch
After installation, VS Code will open and display the Welcome tab. If you see this, the installation was successful.
💡 Want VS Code in Your Language?
To change the UI language, press Ctrl+Shift+X (or Cmd+Shift+X on macOS) to open the Extensions panel, search for your language pack (e.g., “Japanese Language Pack”), install it, and restart VS Code.
Setting Up the Command Line
Being able to type code . in your terminal to open the current directory in VS Code is incredibly convenient for developers.
macOS
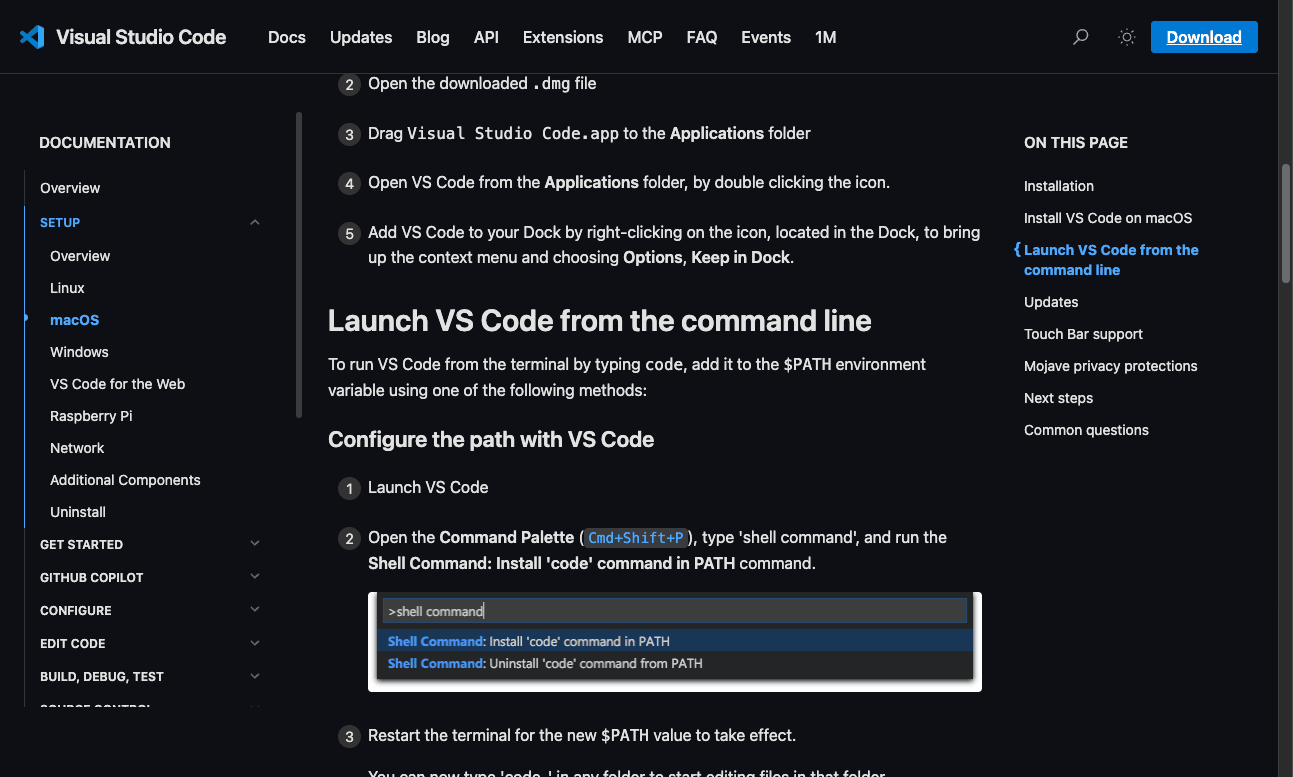
- Open VS Code
- Press
Cmd+Shift+Pto open the Command Palette - Type and select “Shell Command: Install ‘code’ command in PATH”
- Restart your terminal — now
code .will open VS Code
Windows
If you checked “Add to PATH” during installation, no additional setup is needed. Open PowerShell or Command Prompt and try code .
💡 Forgot to add to PATH?
The easiest fix is to re-run the VS Code installer and check the “Add to PATH” option on the Additional Tasks screen.
FAQ
Is VS Code completely free?
Yes, VS Code is free and open source (MIT license). Most extensions are also free, though some like GitHub Copilot require a separate subscription.
Is VS Code the same as Visual Studio?
No, they are different products. VS Code is a lightweight code editor, while Visual Studio is a full-featured IDE. VS Code runs on macOS, Windows, and Linux, whereas Visual Studio is primarily for Windows.
What should I set up first after installing?
Install a language pack if needed, choose a theme you like, and set up the code command in your PATH so you can launch VS Code from the terminal.
Do I need to uninstall an old version first?
No, VS Code supports in-place updates. Your settings and extensions will carry over automatically.
Does VS Code support AI-assisted coding?
Yes, via the GitHub Copilot extension. For more advanced AI features, VS Code-based editors like Cursor and Devin Desktop (formerly Windsurf) are also worth considering. See our AI Code Editor Comparison for details.


![How to Install Cursor on macOS & Windows — 5-Minute Setup [2026]](https://i0.wp.com/devgent.org/wp-content/uploads/2026/03/wp-upload-cursor-install-step01_access_site.png?fit=300%2C186&ssl=1)

Author
krona23
Over 20 years in the IT industry, serving as Division Head and CTO at multiple companies running large-scale web services in Japan. Experienced across Windows, iOS, Android, and web development. Currently focused on AI-native transformation. At DevGENT, sharing practical guides on AI code editors, automation tools, and LLMs in three languages.
Conclusion
Installing VS Code in 3 Simple Steps
- Download from the official website
- macOS: move to Applications. Windows: run the installer (don’t forget to add to PATH)
- Launch and see the Welcome screen — you’re ready to code
Want to learn more about what VS Code can do? Check out our detailed guide.
👉 What Is VS Code? Features and Complete Guide
👉 AI Editor Comparison


![Devin Desktop (formerly Windsurf) vs Zed: AI Features, Performance & Pricing [2026]](https://i0.wp.com/devgent.org/wp-content/uploads/2026/03/windsurf-vs-zed-eyecatch.webp?fit=300%2C167&ssl=1)
🔥 Most Popular
- Claude Desktop Won't Install? Windows & Mac Fixes That Worked (2026)
- Obsidian Visualization Tools: Graph, Canvas, Excalidraw (2026)
- Claude Code CLI vs Web vs Desktop: A Daily User's Guide (2026)
- Can an 8GB GPU Run a 35B MoE? Check Host RAM, Cache, and Speed
- Puppetmaster: How to Route Coding Agents by Cost




Leave a Reply