Last updated: April 14, 2026 — Covers Cursor 3.1 (released 2026-04-13)
📑Table of Contents
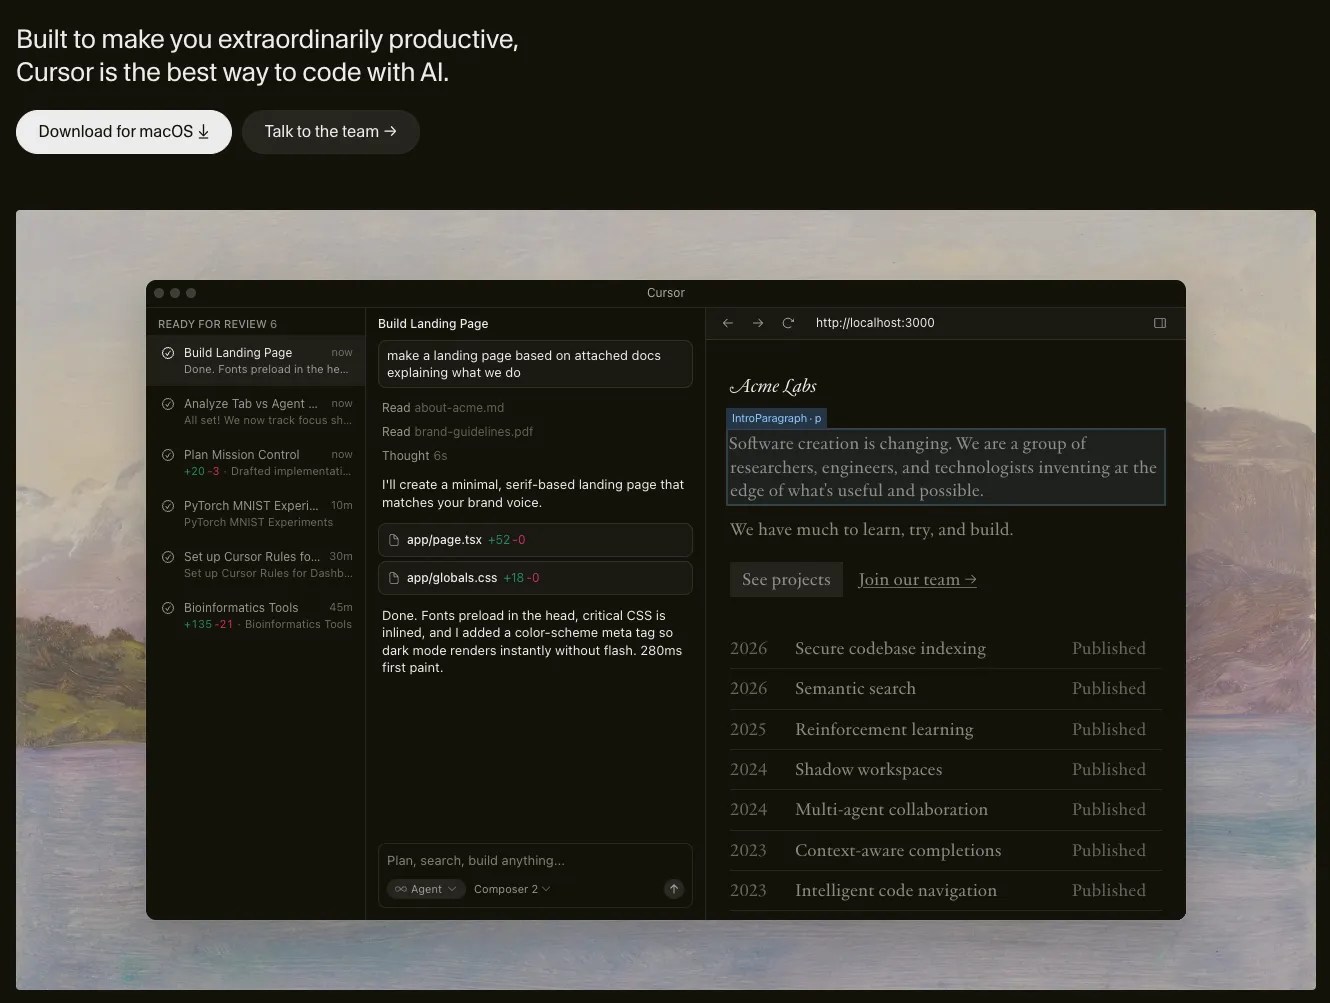
Cursor is an AI-powered code editor built on top of VS Code. On my Apple Silicon M4 Max running macOS Tahoe, a full reinstall — from clicking Download to a signed-in editor with the workspace indexed — took about 5 minutes. If you already use VS Code, the import wizard carries over your extensions, keybindings, and themes. In this guide I walk through macOS and Windows step by step with screenshots, then cover what the official docs leave out: real-world timings, the gotchas I’ve seen, and the files you need to delete for a clean uninstall.
⏱ TL;DR — What you’ll learn
- How long it takes: a few seconds to download on 1 Gbps, ~10 seconds to copy into Applications, and about 5 minutes total including first-launch setup
- Supported platforms: macOS (ARM64 / x64 / Universal), Windows (x64 and ARM64, each in System and User installers), Linux (.deb / .rpm / AppImage)
- Before you start: create a Cursor account first so sign-in is instant (the free Hobby plan still unlocks AI completions)
- VS Code users: the first-launch wizard imports extensions, keybindings, and themes in one click
For a deeper look at what the editor can do, see 👉 What is Cursor? A complete feature overview.
Before you install — account and system check
Two things to get out of the way before you download. First, create a Cursor account — you’ll need it at first launch. Second, confirm your machine meets the requirements.
System requirements (April 2026, based on my measurements)
| Component | Minimum | Recommended (my experience) |
|---|---|---|
| OS | macOS 12+ / Windows 10 / Ubuntu 20.04 | macOS 14+ / Windows 11 / Ubuntu 22.04 LTS |
| CPU | x64 / ARM64 | Apple Silicon / Ryzen 7 or better |
| Memory | 8 GB | 16 GB+ (32 GB for very large monorepos) |
| Disk | 2 GB free | ~800 MB install + cache headroom |
| Network | Always-on (required for AI features) | Wired / fiber preferred |
📏 Memory footprint I’ve measured: on macOS Tahoe / M4 Max, a small project sits at 400–800 MB. Opening several large codebases at once — a WordPress theme with ~10,000 files, for example — pushes memory past 1 GB and occasionally close to 5 GB, especially during the first index. On an 8 GB machine I’d close unrelated apps before the first launch.
Supported platforms and build matrix
| OS | Package | Notes |
|---|---|---|
| macOS | .dmg (ARM64 / x64 / Universal) | Pick ARM64 on Apple Silicon. CLI users can also run brew install --cask cursor |
| Windows | .exe (x64 / ARM64 × User / System) | Choose User Installer on locked-down corporate machines |
| Linux | .deb / .rpm / AppImage (ARM64 / x64) | .deb for Ubuntu/Debian, .rpm for Fedora/RHEL, AppImage for portable use |
Step 1 — Open the official site
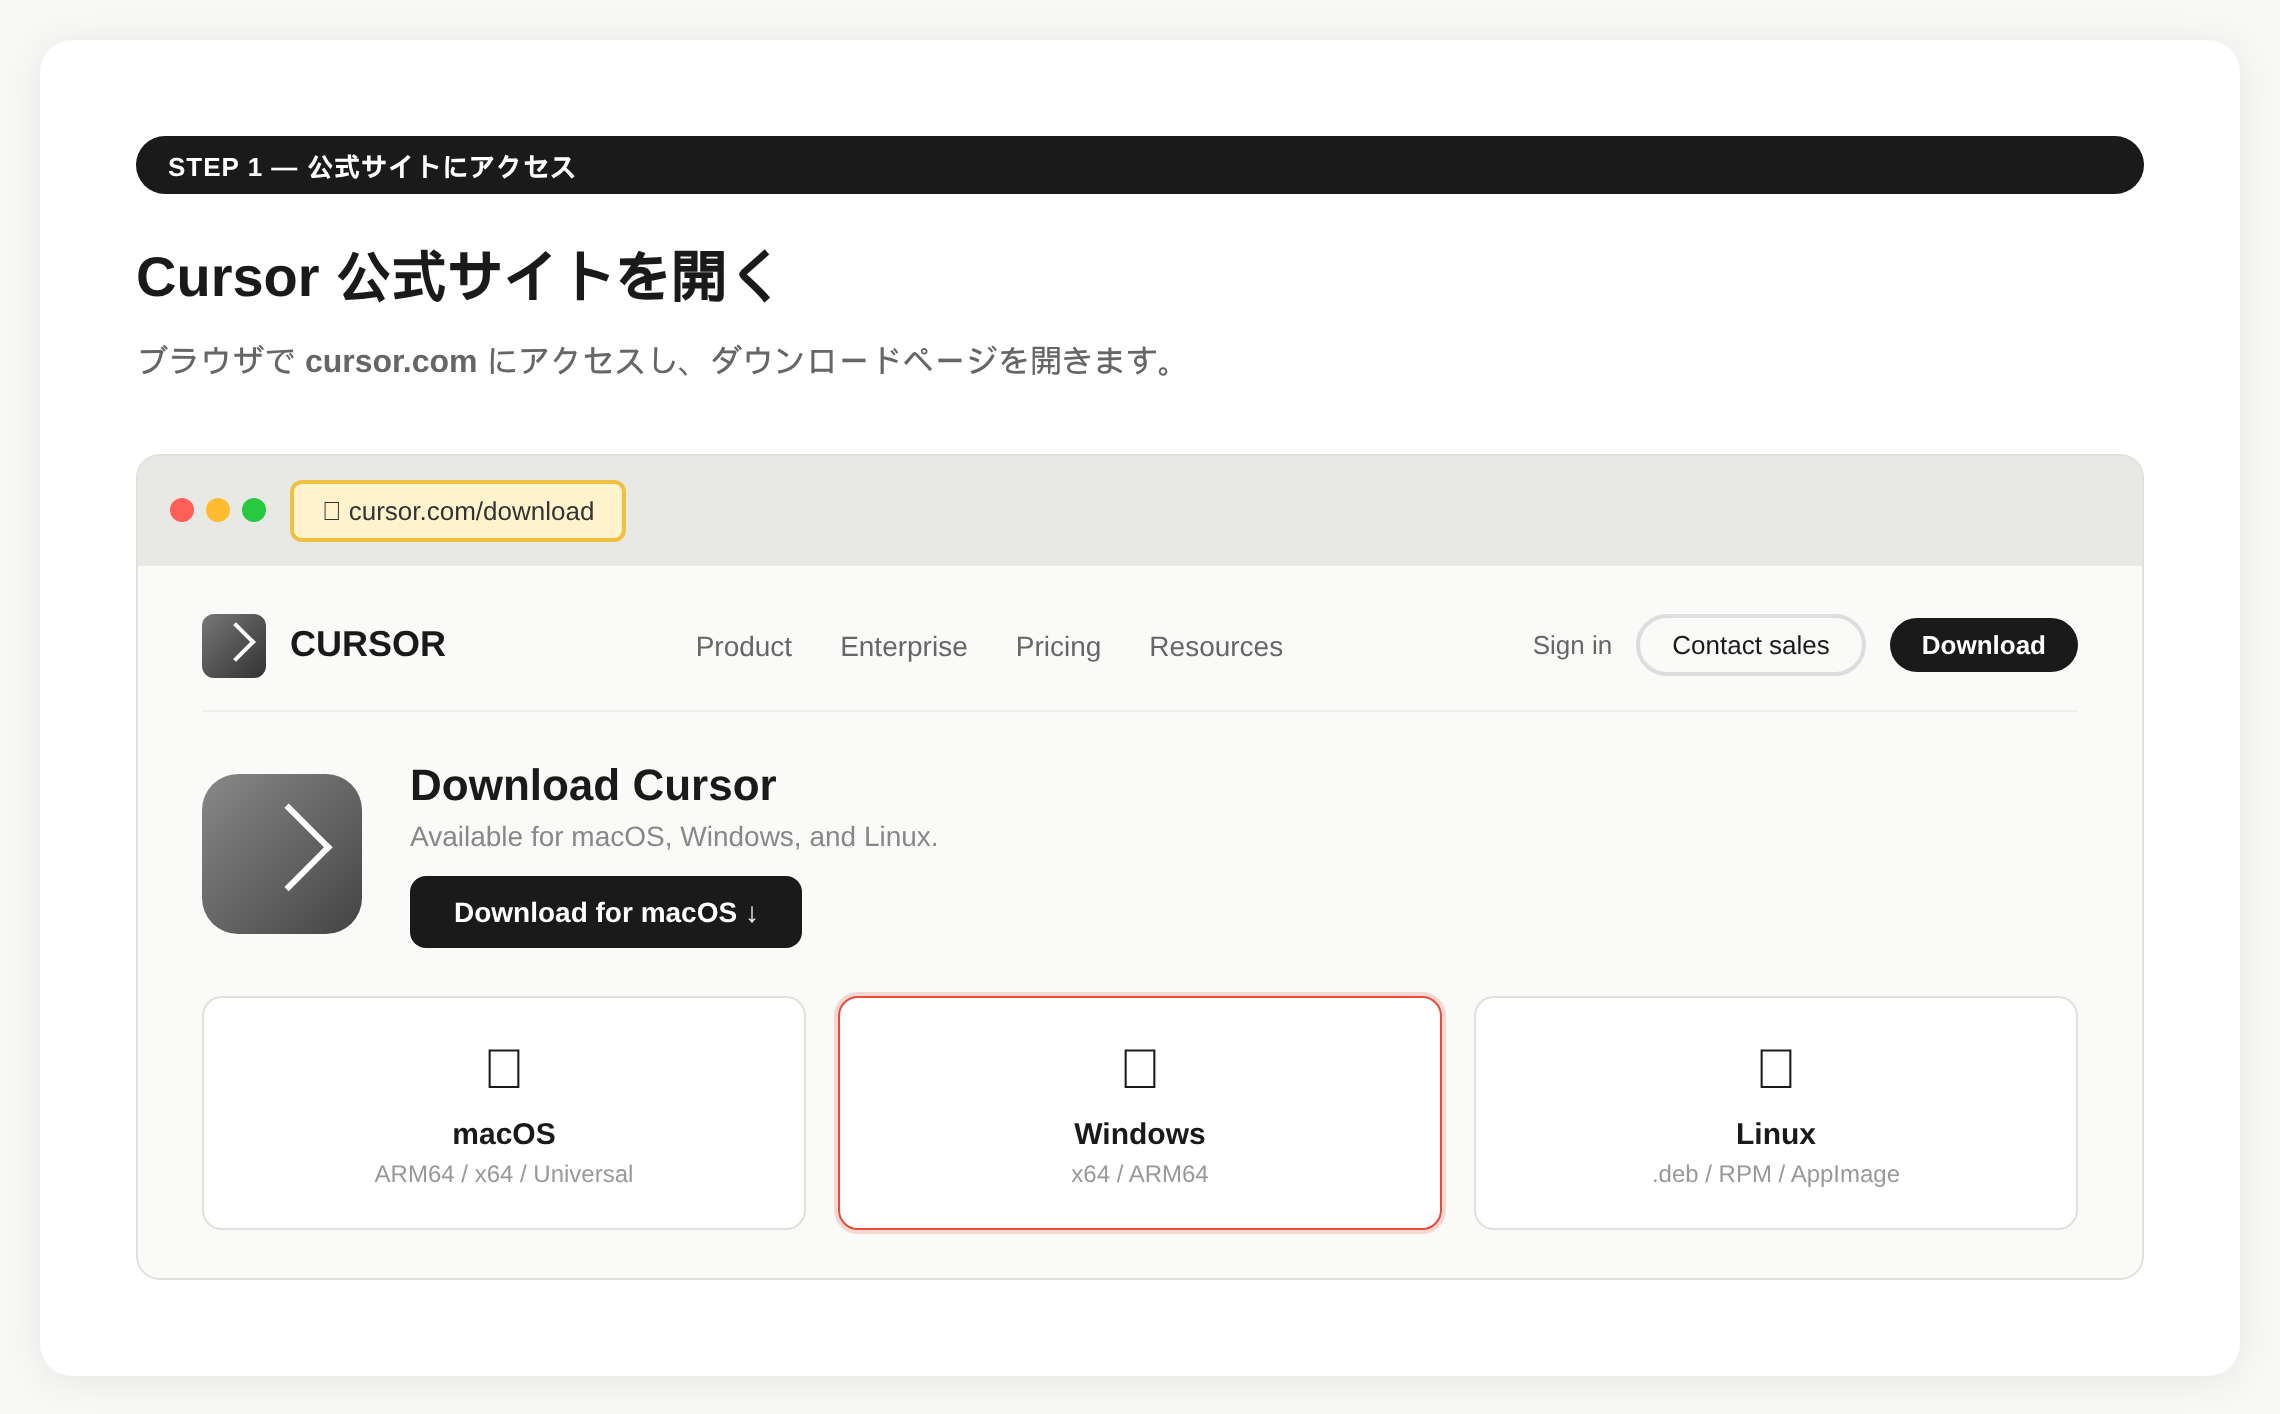
Start by heading to the Cursor website.
Official site: https://cursor.com/
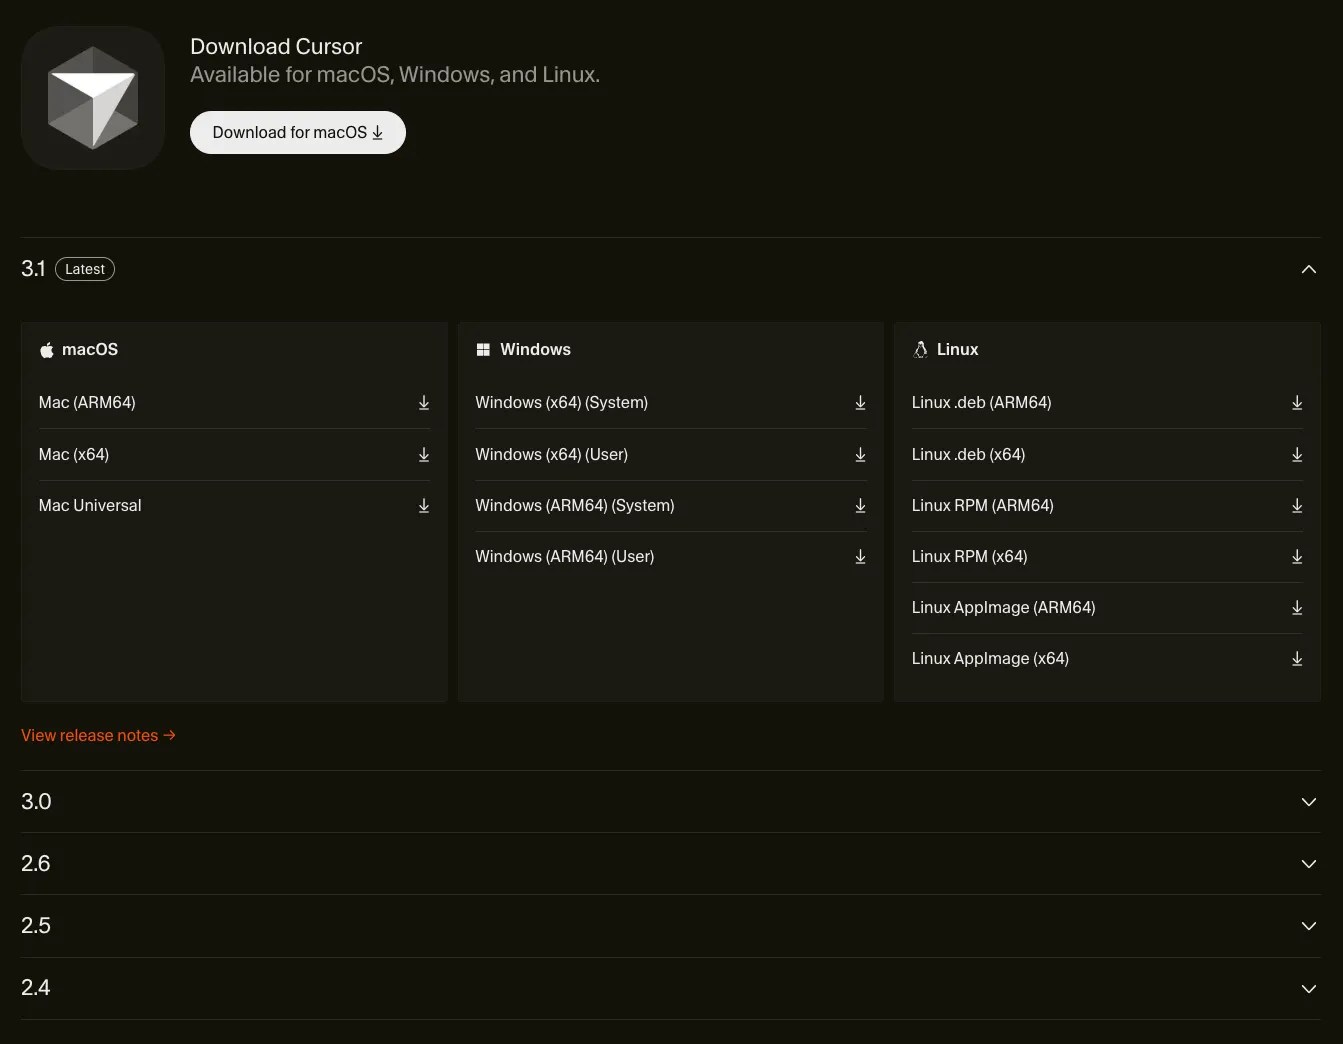
Use the Download for macOS button on the homepage, or jump straight to cursor.com/download for every platform build. The page also lists previous versions (3.0 / 2.6 / 2.5 / 2.4) — handy when you need to roll back for compatibility.
Step 2 — Download the installer
macOS
📝 Steps
- Click Download for macOS
- A
.dmg(roughly 210–250 MB) starts downloading - On a 1 Gbps connection, this takes a few seconds in my experience
💡 Apple Silicon vs. Intel
The Download button auto-detects your OS and CPU, so Apple Silicon (M1/M2/M3/M4) and Intel each get the right build. To pick manually, open the download page and choose ARM64, x64, or Universal explicitly.
For CLI users: brew install --cask cursor works just as well. You can also keep updates in sync with brew upgrade --cask cursor — convenient if you already manage other apps with Homebrew.
Windows
📝 Steps
- Click Download for Windows
- An
.exefile starts downloading
💡 User Installer vs. System Installer
For personal use, the User Installer (default) is fine — it installs under your user profile and needs no admin rights. Pick the System Installer only when you need a machine-wide install, for example on shared corporate hardware. On ARM64 Windows devices (Snapdragon X Elite and similar), the ARM64 build is noticeably faster than running x64 under emulation.
Step 3 — Install Cursor
macOS
📝 Steps
- Double-click the downloaded
.dmg - Drag the Cursor icon into the Applications folder (the copy takes about 10 seconds)
- Eject the
.dmgfrom Finder - Launch Cursor from Applications
⚠️ If Gatekeeper says “cannot verify the developer”
The easiest fix is to right-click Cursor in Applications and choose “Open”, then click Open in the dialog. If it still refuses, open System Settings → Privacy & Security and click Open Anyway. You only have to do this once — subsequent launches skip the warning.
Windows
📝 Steps
- Double-click the downloaded
.exe - Accept the license agreement
- When the installer finishes, Cursor launches automatically
⚠️ If SmartScreen blocks the installer
When “Windows protected your PC” appears, click More info and then Run anyway. On a corporate device where you don’t have admin rights, re-download the User Installer — it doesn’t need elevated permissions and sidesteps the prompt.
🧰 If the download stalls: (1) try a different browser (Chrome → Safari / Edge), (2) toggle your VPN off, (3) clear the browser cache and re-download, (4) ask IT to add cursor.com and downloads.cursor.com to the proxy allow-list. I haven’t hit any of these myself, but readers on locked-down corporate networks have asked about each of them.
Step 4 — First launch and setup
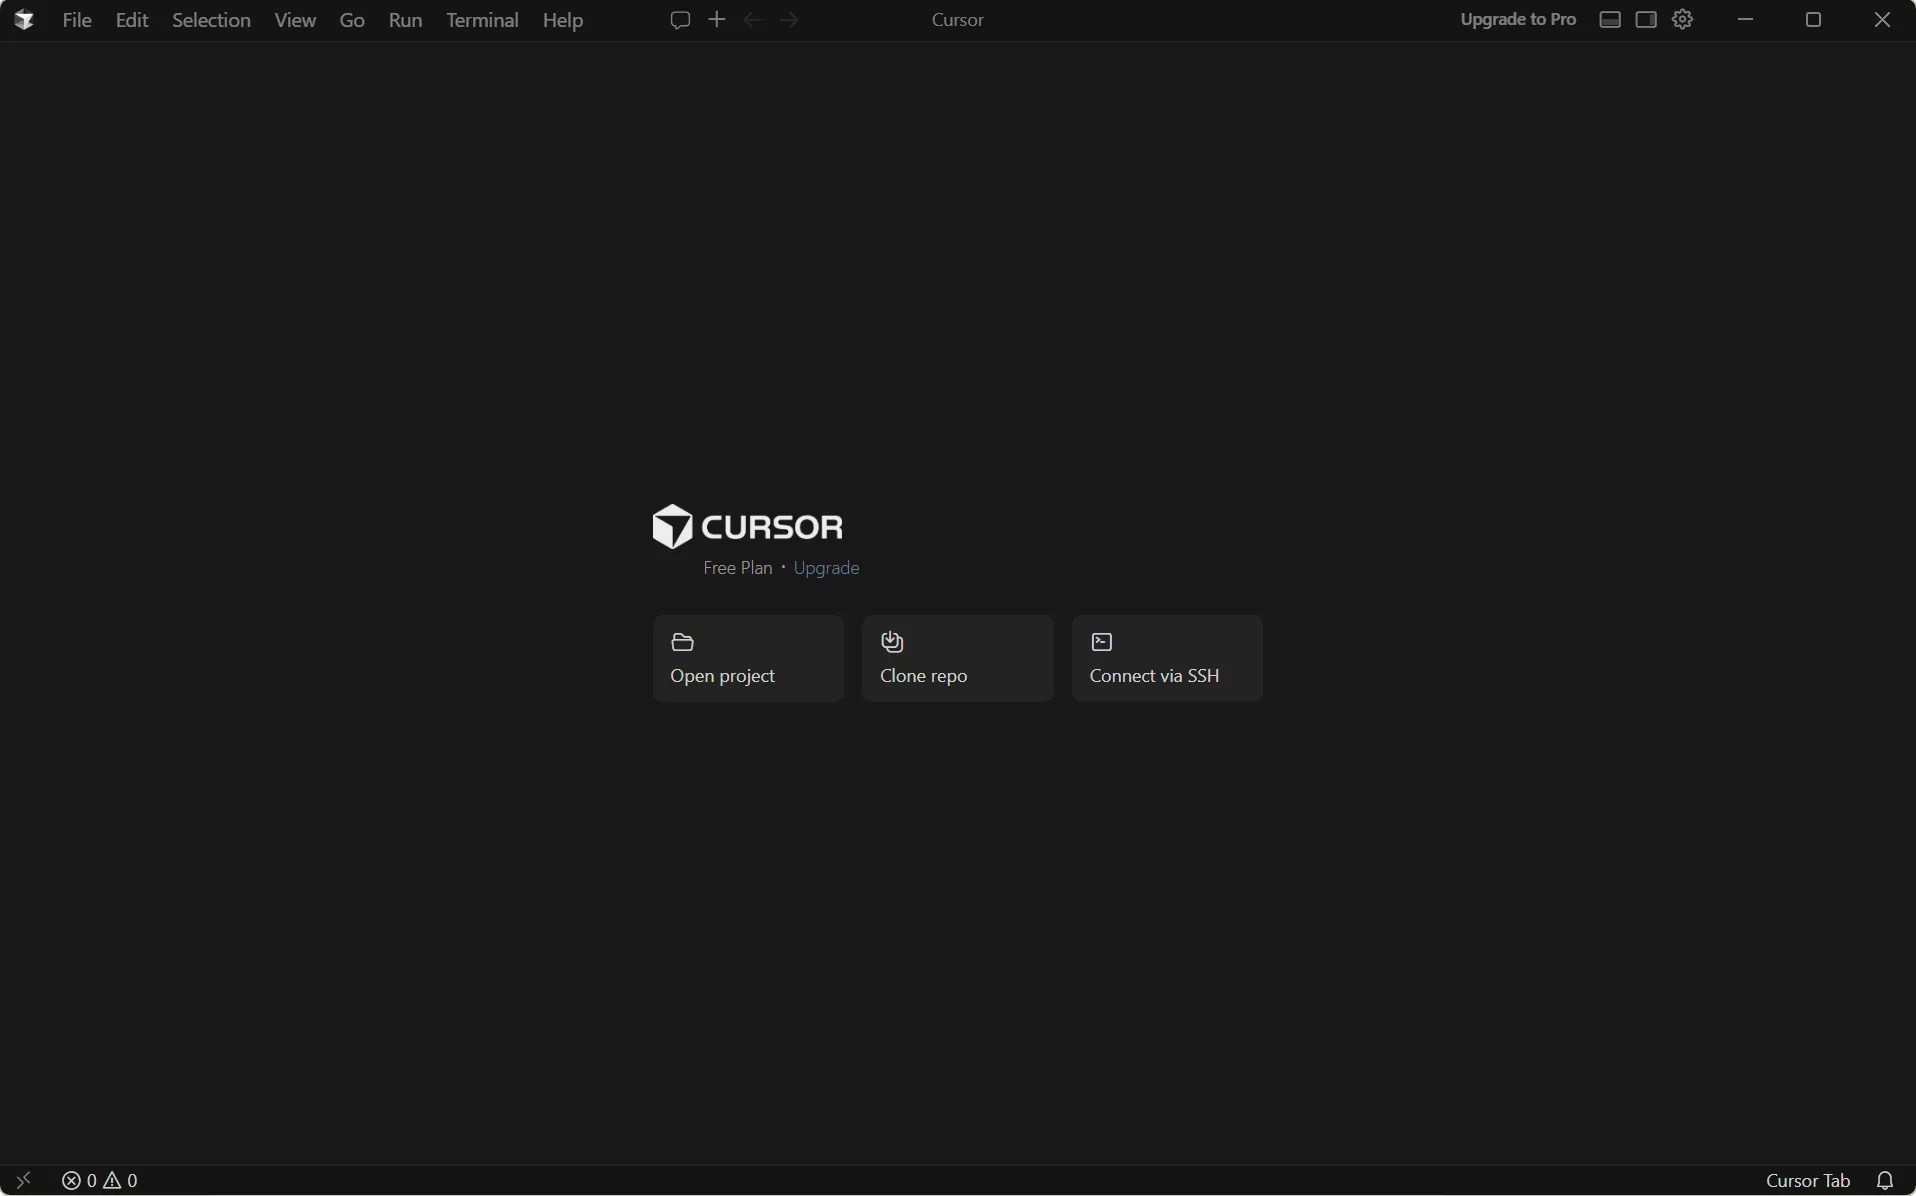
On first launch, Cursor shows a welcome screen that walks you through the initial setup. On my macOS Tahoe / M4 Max machine, this step — including the first workspace index — took about 5 minutes.
🎨 Theme
Choose Dark or Light. You can change it later from Settings.
📦 Import from VS Code
One click brings over your extensions, keybindings, and settings.
Migrating from VS Code — what actually carries over
The official docs just say “your extensions work.” I wanted more detail, so here’s what actually transferred on my setup (a Japanese-localized VS Code, migrated through the import wizard).
✅ Imported cleanly on my machine
- Extensions: ESLint, Prettier, GitLens, Japanese Language Pack, Markdown All in One and the other common tools worked without changes
- Keybindings: VS Code shortcuts came through intact. Cursor’s AI-chat shortcuts take priority in a few places, so it’s worth glancing at the bindings once
- Themes and fonts: Dark+ and my custom editor font carried over with no adjustment
settings.json: every key that exists in VS Code kept working. Cursor simply appends its own AI-related keys alongside them
💡 Tweaks I made after the import:
- Reviewed Cursor’s AI settings (context scope, default model) to match how I actually work
- Added a
.cursorrulesfile at the project root so Cursor picks up our code style and naming conventions - Left Settings Sync on in VS Code only and kept Cursor’s settings local, so the two editors don’t fight over the same account
🔑 Sign in to your Cursor account
AI features (completions, chat, agents) require a Cursor account. You can sign up with email or GitHub. Creating the account before you install avoids a detour on the sign-in screen. The free Hobby plan already unlocks the core AI features.
After install — pricing and what the free plan covers
“How to install Cursor free?” is a top People-Also-Ask query. In short: Hobby is free, Pro is $20/mo, and Ultra is $200/mo — here’s how the free plan actually held up for me.
💰 My own budget (Pro at $20/month):
- On the free Hobby plan, a Tab-completion-focused workflow lasted me about 1–2 weeks before I hit limits — quotas shift with your account and the time of year, so treat that as a rough guide
- I upgraded the moment I started leaning on long Composer sessions and switching models frequently for cost/quality trade-offs
- To stretch the free plan: (1) keep the model on Auto, (2) keep chats short so you aren’t shipping unnecessary context, (3) reach for Composer only when you really need it
👉 For all plans compared, per-model costs, and how usage-based billing works, see our Complete Cursor Pricing Guide [2026].
How to uninstall Cursor
Removing the app alone leaves configuration and cache behind. For a clean uninstall, delete the directories below as well.
🍎 macOS
- Drag Cursor from Applications to the Trash
- For a full wipe, also remove:
~/.cursor(user settings,.cursorrules, etc.)~/Library/Application Support/Cursor~/Library/Caches/Cursor~/Library/Logs/Cursor
🪟 Windows
- Uninstall Cursor from Settings → Apps
- For a full wipe, also delete:
%APPDATA%Cursor%LOCALAPPDATA%ProgramsCursor%USERPROFILE%.cursor
FAQ
How do I properly install Cursor?
Download the installer for your OS from cursor.com/download (.dmg for macOS, .exe for Windows, .deb/.rpm/AppImage for Linux), drag the app into Applications on macOS, run the .exe on Windows, or install through your package manager on Linux. Launch the app and sign in, and you’re done.
Can I install Cursor on Windows?
Yes — Windows 10 and 11 are both supported, with separate x64 and ARM64 builds in User and System Installer variants. Use the User Installer for personal machines and the System Installer for machine-wide deployments. On Snapdragon X Elite and similar ARM devices, the ARM64 build runs noticeably faster than x64 under emulation.
How do I install Cursor for free?
The installer itself is free. The Hobby plan includes AI completions and chat but caps usage — in my case that lasted about 1–2 weeks of light, Tab-focused coding before I hit limits. Serious daily use fits the Pro plan ($20/month); if you run agents in parallel, consider Ultra ($200/month).
Do VS Code extensions work in Cursor?
Nearly all of them. On my setup, ESLint, Prettier, GitLens, Japanese Language Pack, and Markdown All in One all worked right after the first-launch import wizard. Keybindings, themes, and settings.json transfer in the same step.
Can I install Cursor and VS Code side by side?
Yes. They install as separate apps and don’t interfere, so you can pick whichever editor fits each project. If you use Settings Sync, keep it enabled in only one of the two to avoid fighting over the same cloud profile.
macOS says “cannot verify the developer” at install — what now?
That’s Gatekeeper. The simplest fix is to right-click Cursor in Applications and choose “Open”, then click Open in the dialog. If that fails, open System Settings → Privacy & Security and click Open Anyway. You only need to do this once.
How do I uninstall Cursor?
On macOS, drag Cursor from Applications to the Trash; on Windows, uninstall from Settings → Apps. For a clean removal also delete ~/.cursor, ~/Library/Application Support/Cursor, and ~/Library/Caches/Cursor on macOS, or %APPDATA%Cursor, %LOCALAPPDATA%ProgramsCursor, and %USERPROFILE%.cursor on Windows.


Author
krona23
Over 20 years in the IT industry, serving as Division Head and CTO at multiple companies running large-scale web services in Japan. Experienced across Windows, iOS, Android, and web development. Currently focused on AI-native transformation. At DevGENT, sharing practical guides on AI code editors, automation tools, and LLMs in three languages.
Related articles
- 👉 What is Cursor? A complete feature overview
- 👉 Cursor vs. Devin Desktop (formerly Windsurf) — a full comparison
- 👉 Cursor vs. Antigravity — a full comparison
- 👉 Cursor’s agent features explained
- 👉 The complete Cursor pricing guide
- 👉 AI editor comparison
Wrap-up
My takeaway — Cursor installs in five minutes, and the VS Code switch is practically a single click
- Grab the installer from the official site
- Drag into Applications (10 seconds) on macOS, or run
.exeon Windows - First-launch wizard → theme, VS Code import, and sign-in → you’re coding with AI in ~5 minutes
If you already use VS Code, the workhorse extensions (ESLint, GitLens, and the rest) keep working without changes. The free Hobby plan is enough for 1–2 weeks of light exploration; for daily use, Pro at $20/month is the sweet spot. Install it, try it on a real project, and only then compare it to other editors.
👉 What is Cursor? A complete feature overview
👉 AI editor comparison


![Devin Desktop (formerly Windsurf) vs Zed: AI Features, Performance & Pricing [2026]](https://i0.wp.com/devgent.org/wp-content/uploads/2026/03/windsurf-vs-zed-eyecatch.webp?fit=300%2C167&ssl=1)

🔥 Most Popular
- Claude Desktop Won't Install? Windows & Mac Fixes That Worked (2026)
- Obsidian Visualization Tools: Graph, Canvas, Excalidraw (2026)
- Claude Code CLI vs Web vs Desktop: A Daily User's Guide (2026)
- Can an 8GB GPU Run a 35B MoE? Check Host RAM, Cache, and Speed
- Puppetmaster: How to Route Coding Agents by Cost




Leave a Reply